Creating a simple blog API - Part 1
Creating and connecting your Express server


INTRODUCTION
As a backend engineer having a project in your belt by practising what you have learned and moving from the tutorial stage to the project stage is one of the pecks of being hired. In this series, I will be talking you through building a simple blog API.
The blog post is a tutorial on how to create a simple blog API using Node.js, Express and MongoDB. The tutorial is separated into multiple parts, and this is the first part. It explains the setup of the development environment, dependencies installation, and basic configuration of Node.js and Express. It also includes a brief introduction to MongoDB and its installation process, and how to connect to the MongoDB server from the Node.js application. It is a good tutorial for beginners who are looking to learn how to build a simple blog API using these technologies.
Ready? Launch!!! 🚀
PREREQUISITES
- Basic knowledge of Javascript, Nodejs, Express, MongoDB/Mongoose
TOOLS
- vscode (or any preferred code editor), MongoDB Atlas account, Postman or Thunder-client (a vscode extension)
What is an API? According to Ma-Keba Frye, SEO Content Writer at MuleSoft, he says; "API is the acronym for application programming interface –– a software intermediary that allows two applications to talk to each other. APIs are an accessible way to extract and share data within and across organizations".
How can two applications talk to each other? There has to be one application that acts as the server(responder) and the other as the client(requester).
We will be using nodejs to create the server-side application.
PROJECT INTRODUCTION
The general idea of this project is that the API has a general endpoint that shows a list of articles that have been created by different people, and anybody that calls this endpoint, should be able to read a blog created by them or other users.
PROJECT SETUP
Setup your project folder Your new project folder will be named
my_simple_blog_api(or any name you like). Open this folder with your code editor.Create the package.json file. Why?
run
npm init -yusing the command line from the root folder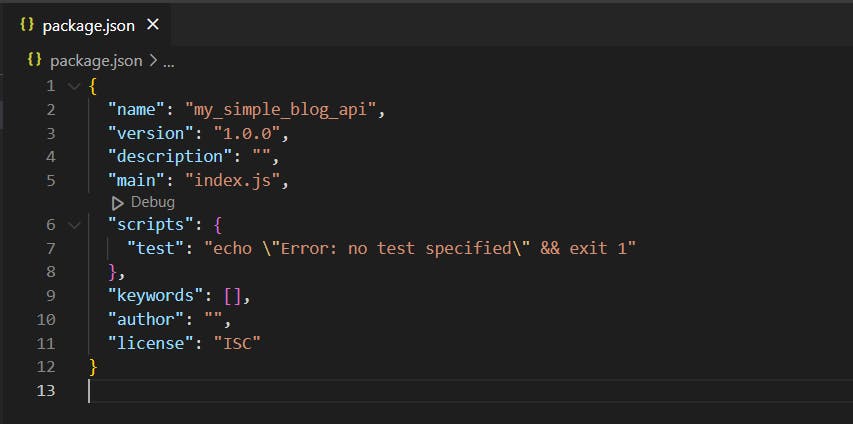
The content of your
package.jsonfile should look like the above image.
Install the project dependencies
run
npm install express. This will create a new folder callednode_modules. This is the folder where npm installed the project-needed packages.A new file called
package-lock.jsonis also created.
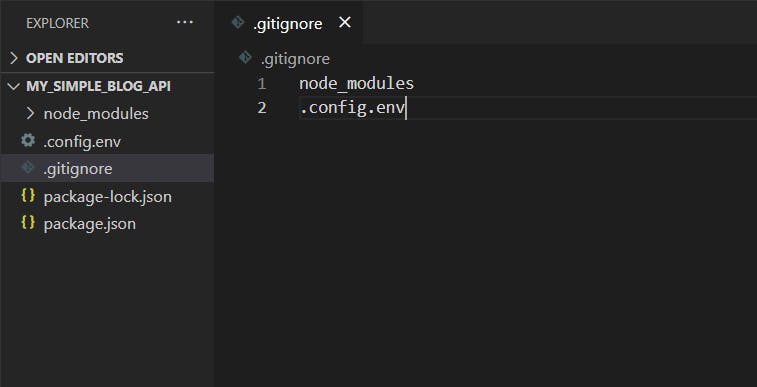
Create a file named
.gitignoreShould in case you are planning to host this project on GitHub, the folder
node_modulesfor instance, will take an unnecessary spaceThere are some sensitive environment variables you want to sit locally on your PC and not to the outside world. For environment variables that we don't want to share outside the current PC, create the file named
config.env.This file indicates which file/folder names to ignore.
Additional project setup
create folders with the name
srcandconfigThe
srcfolder will be the source folder and theconfigfolder will hold our environment variable file.Move the
config.envfile into the config folder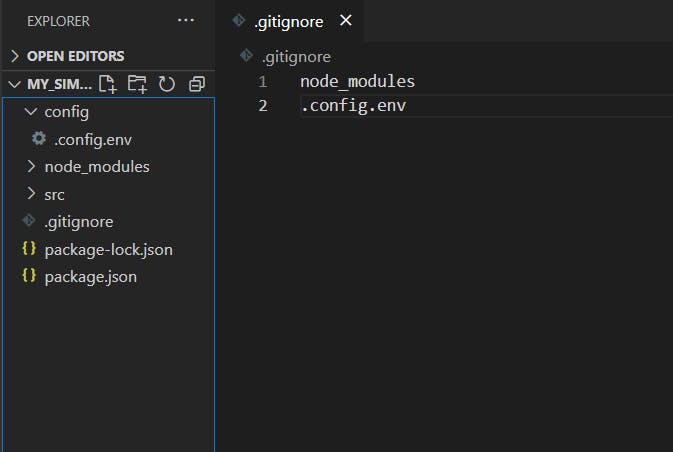
CONFIGURING THE EXPRESS SERVER
Inside the src folder, create the app.js (src/app.js) file and configure the request handler like in the below code:
const express = require("express"); // 1
const app = express(); // 2

app.use(express.json()); // 3

module.exports = app; // 4
Line 1: You require() the express module into the program.
Line 2: You invoke express() to instantiate a new Express application.
Line 3: express.json() is a built-in middleware function in Express. It parses incoming JSON requests and puts the parsed data in req.body.
Line 4: The module.exports is used to export value from this file or module. A module is just a file.
IMPLEMENTING THE LISTENING SERVER
Before you proceed further, you should install the dotenv package. This will enable you to load environment variables from the config.env file into process.env. In your terminal, run npm install dotenv --save.
- In your root folder, create a new file named
server.jsand include the below code inside of it.
const app = require("./src/app"); // 1
const dotenv = require("dotenv"); // 2
dotenv.config({ path: "./config./config.env" }); // 3

const PORT = process.env.PORT || 3000; // 4

app.listen(PORT, () => {
  console.log(`Server is listening on localhost:${PORT}...`);
}); // 5
Line 1 - 2: You
require()the createdappmodule and thedotenvpackage in the program.Line 3: The
config()is a method which is provided by thedotenvmodule to config the env files. And you specify a custom path if your file containing environment variables is located elsewhere. In our case, the file is located inside of theconfigfolder.Line 4 - 5: Your server is listening on port 3000 or any port configured in the
config.envfile for incoming requests and log to the console when the server is up and running.
TESTING YOUR SERVER
To test that the server is up and running, in your terminal, run the command: node server.js. You should get the below result:
Server is listening onlocalhost:3000...
Cheers! You have successfully created your Express server!!
cover-image credit: browserstack
What's next?
You will be connecting your Node server to MongoDB Atlas.